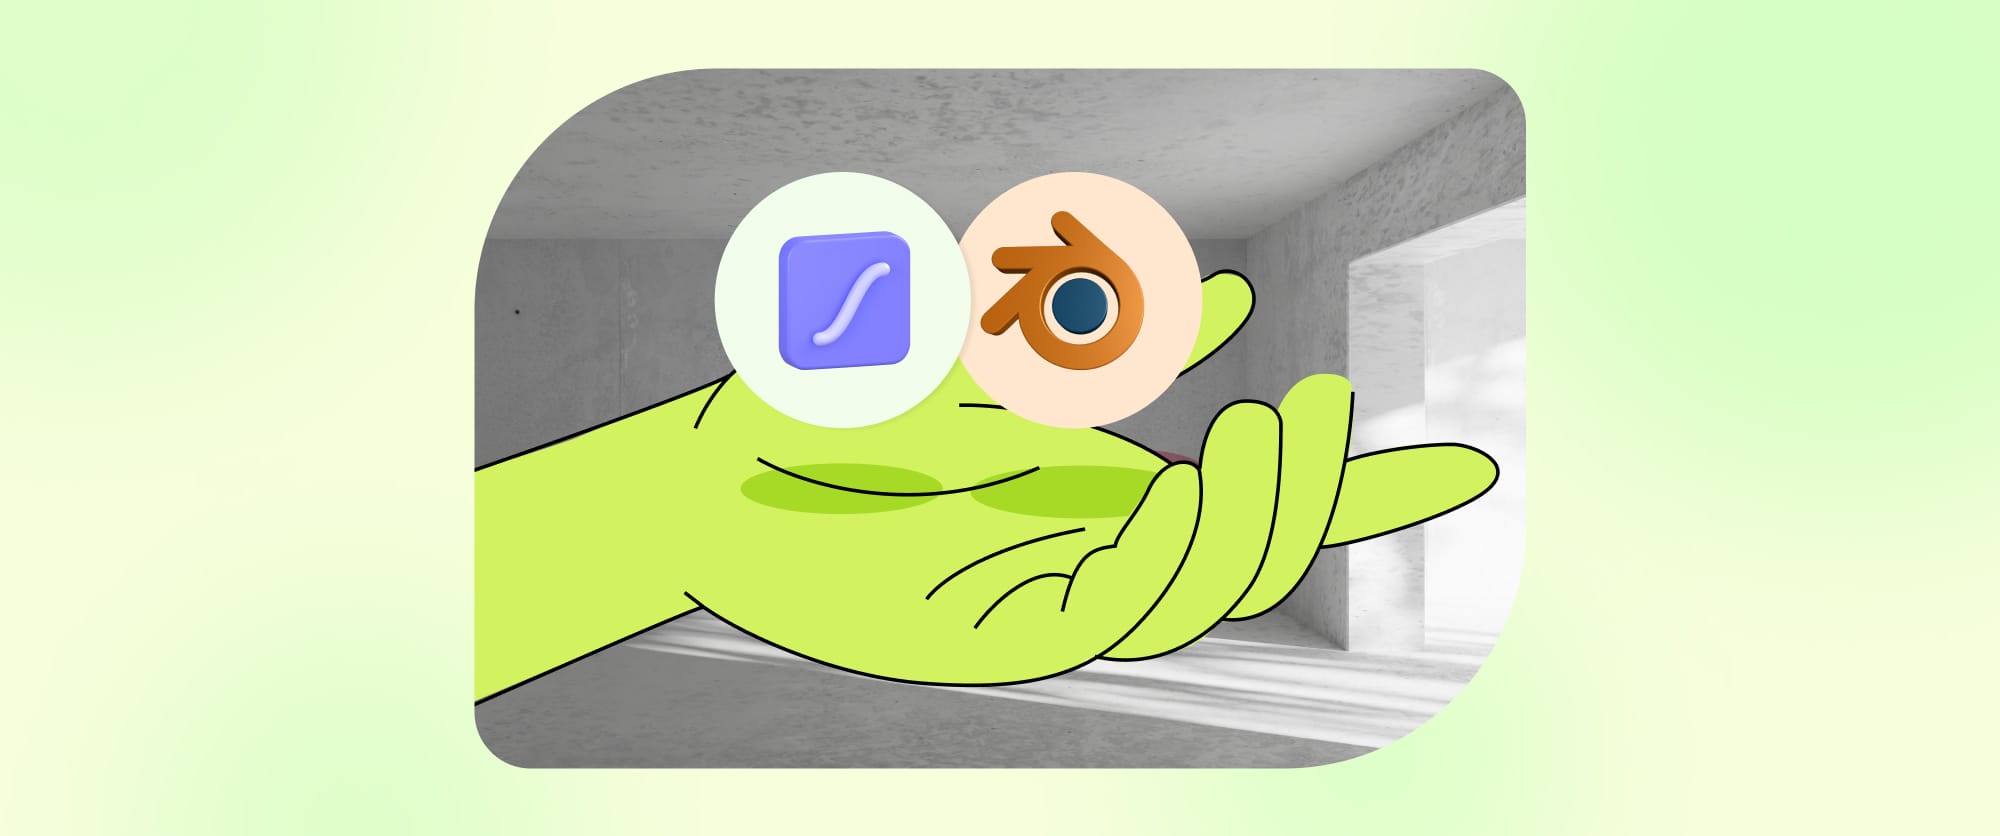
Blender and Lottie: the dynamic duo for digital delights
Cue the dream team: Blender, Illustrator, and After Effects. Each one is a powerhouse, but together? Unstoppable.
Alright, picture this: Motion design is like trying to solve one of those crazy jigsaw puzzles. Over at Headout, we've had our brains twisted into knots trying to figure out some really tricky animations. Then, bam! We found this super cool tool called Blender. It's this free software for making 3D stuff, and let me tell you, it made our lives a whole lot easier.
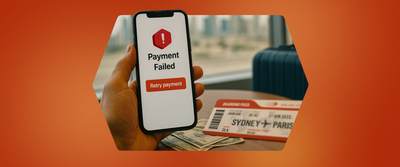
So, we had this project where we needed to make an animation of a ticket that kinda does a little dance to let you know, "Hey, your payment went through!" Animating a piece of paper that needs to bend and twist? Yeah, that's tough.
But here's the thing: we love a good challenge. We rolled up our sleeves and dove back into our usual bag of tricks. It's like this old-school way of doing animations where you draw each frame, one by one, then go into After Effects (cue a meme here) and trace over every single frame. It's painstaking work, but for this ticket animation, it worked like a charm.
So, we had this method of animating that was doing the job, but man, we were itching for something that didn't feel like running a marathon backward. Enter Blender, our knight in shining armor. It swooped in with all its digital wizardry and completely flipped the script on how we did things with our ticket animation.
Blender was a game-changer, no question about it. It let us nail those super detailed moves in the animation like it was nothing. But here's the kicker: we needed to get our Blender masterpiece to play nice with Lottie, and that's not always a walk in the park.
Cue the dream team: Blender, Illustrator, and After Effects. Each one's a powerhouse, but together? Unstoppable. We whipped up this new workflow that's like nothing we've done before. We took Blender's slick animations, ran them through Illustrator to keep those vectors crisp, and then After Effects stepped up to give it that final, smooth animation polish. And just like that, we had this beautiful, smooth sailing straight into Lottie.
What's the big deal, you ask? This wasn't just a new way to do things; it was revolutionary for us at Headout. It's like we've been handed a magic wand for motion design. We're pulling back the curtain on our secret sauce, mixing up Blender, Illustrator, and After Effects, and it's changing the game for what's possible.
Step 01:

Alright, so first things first, I grabbed our ticket illustration from Illustrator and saved it as a .png file. Then, I brought it into Blender as an image plane. To make sure it looks tip-top, I set it up with a shadeless texture. If the asset was to be created right in Blender, I could use an emission shader with a low strength, but that depends on where it's cooked up.
Now, to get more control and jazz up the 3D vibe, I subdivided that image plane a couple of times. More subdivisions mean more vertices, which is how we get those smooth twists and turns, you know the way a ticket would move?
Next up, to make our ticket do a little dance, I choreographed its moves by setting it to follow a curve path in Blender. Picture it like a dance routine – I used a curve modifier to guide the steps. This cool move made our ticket animation dynamic and smooth, bringing it to life. And voila, that's how we turn a static ticket into a life!
Step 02:
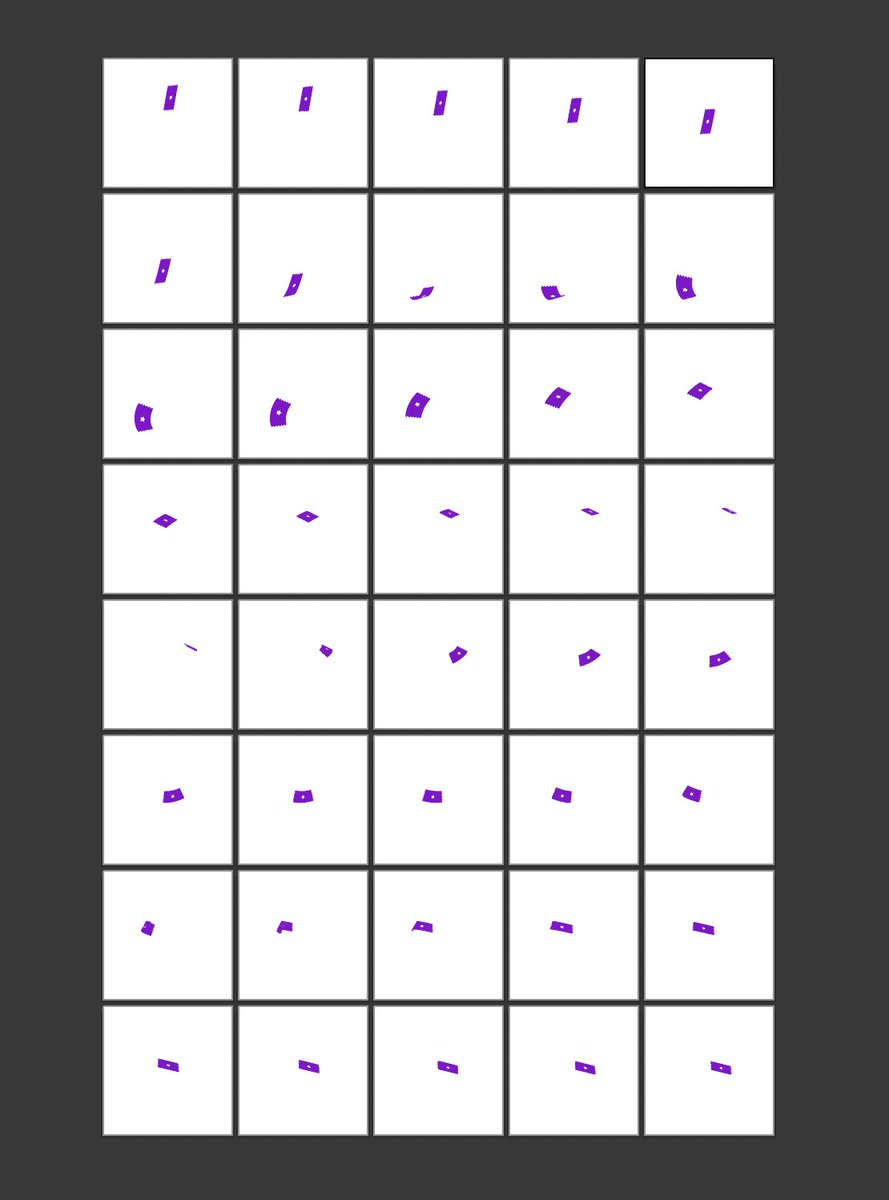
Moving on to step two! I took our 3D animation in Blender and rendered out a sequence of PNG images. What that really means is each little frame of our animation got its own PNG image.
Why PNG? Well, it's like taking a bunch of photos for an album. Each frame (or photo) is saved separately. This makes life easier because we can toss these frames into other software for extra tweaks and edits.
In my case, I tossed this PNG sequence into Adobe Illustrator. Think of it like putting those snapshots into an album. I placed each frame on its own artboard, kind of like organizing a gallery of our animation. This way, I could fine-tune each moment separately. It's like giving each snapshot its own touch-up before they all come together in the grand finale!
This step is also useful because we get to fine-tune the number of vertices our shape can have later on. And guess what that means? It helps us craft a smaller Lottie file. And you know what they say – a smaller file makes for a happier dev and a delighted end user.
Step 03:
function tracer() {
    var doc = app.activeDocument.selection;
    var Tracing_Preset = "[Default]";

    if (doc < 1) {
        alert("Please select the image(s)");
        return false;
    } else {
        for (var i = 0; i < doc.length; i++) {
            pluginItem = doc[i].trace();
              pluginItem.tracing.tracingOptions.loadFromPreset(Tracing_Preset);
            pluginItem.tracing.tracingOptions.ignoreWhite = true;
            pluginItem.tracing.expandTracing().selected = true;
        }
    }
    alert(doc.length + " image(s) traced");

};

tracer();
Now, onto step three of the magic! I took all those frames I cooked up in the animation and brought them into Adobe Illustrator. What's the plan? Image tracing! It's like turning a pixelated picture into a smooth, clean vector image.
Now, let me tell you, manually tracing each frame sounds like a ticket to tedium town, especially when you're dealing with loads of frames. But here's where the cool part comes in – I didn't dive into the manual tracing abyss. Nope, found a shortcut: a JSX script.
A JSX script is basically a bit of code that plays magician in Adobe Illustrator. With this, I automated the whole tracing process. Picture it like having a robot assistant doing the heavy lifting. This not only saved me a boatload of time but also kept things consistent and accurate, crucial for top-notch animations.
If you're itching to try this magic trick yourself, grab the code, paste it into a notepad file, save it with a .jsx extension. Open the script in Adobe Illustrator, and there you have it – magic at your fingertips!
Step 04:
After all that tracing fun, it's time to bring those snazzy traced frames into After Effects, my animation playground! I used BattleAxe Overlord plugin – my trusty sidekick for smoothly importing and handling Illustrator files in After Effects but you can also directly import the illustrator file as different layers
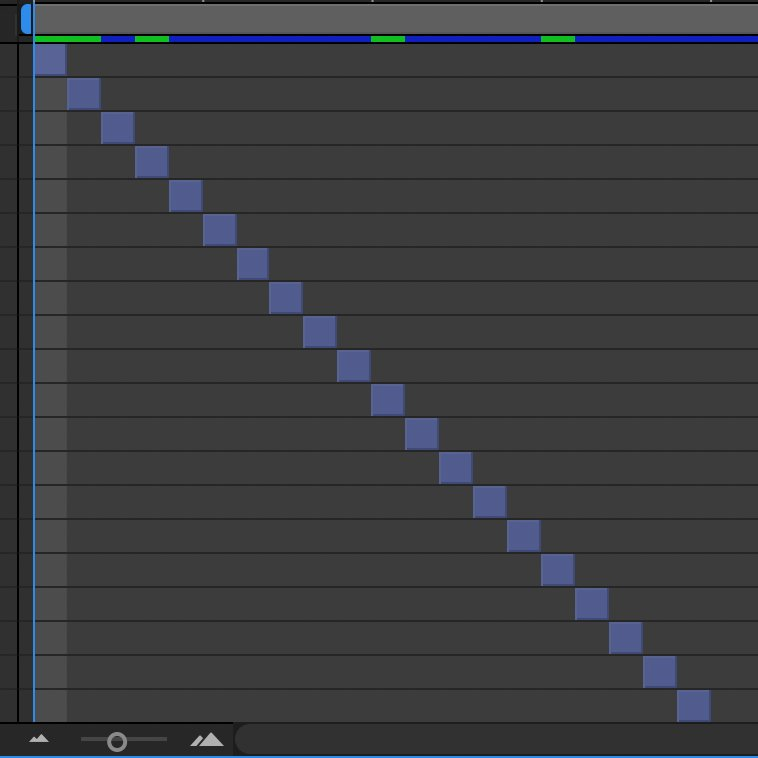
Once those frames stepped into After Effects, I set each frame to last just one frame long, before lining them up in sequence.
Step 05:
Now, for the grand finale! I took my crafted animation and fed it into the LottieFiles plugin.
The result? A top-notch animation ready to rock on web and mobile applications, exactly as I envisioned for the project. It's like putting the final puzzle piece in place, and everything just clicks into perfection. The LottieFiles plugin made sure my animation shines wherever it goes!

As I sign off, our real hope is that this article hasn't just been a good read but has kindled a spark of inspiration within you. We went from unraveling the mysteries of Lottie, conquering its quirks, to unveiling the immense potential that comes when you mix and match different tools to push the boundaries. Let this be a starting point for your own creative journey!